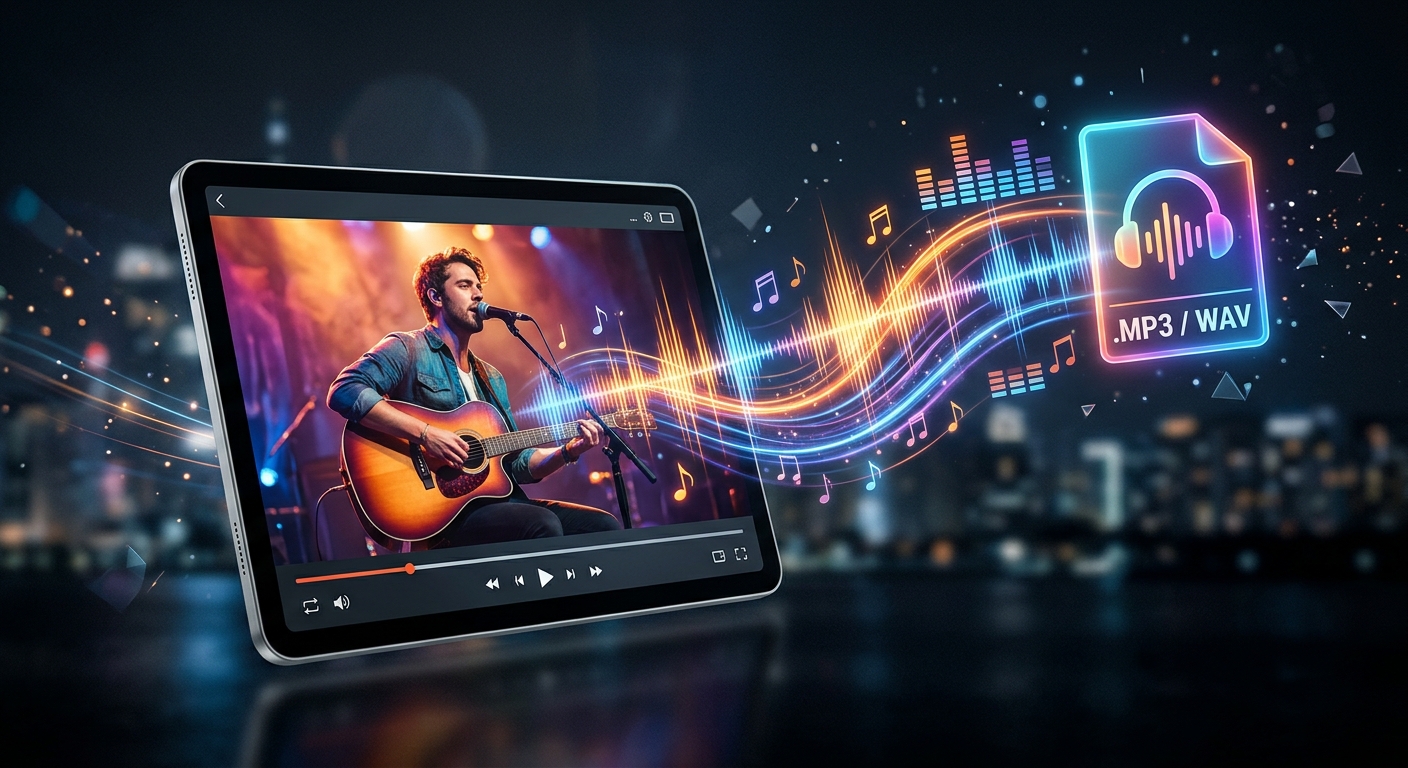
The interview sounds perfect, but you do not need the picture. Perhaps you want to listen to your own recorded lecture during a commute, save a family conversation, or edit narration from a video project. Extracting the audio can make that recording easier to use and much smaller to store. Getting a good result takes more than choosing a filename ending in .mp3.
Three Points Before You Export
- Confirm that your permission covers the audio use you have planned.
- Copy the existing audio stream when practical to avoid another lossy conversion.
- Check playback, file details, and metadata before storing the finished recording.
Start With Permission That Fits Your Purpose
A video being available to watch does not automatically mean its soundtrack is available for reuse. Start with recordings you own, material supplied with suitable permission, or content whose license permits your intended activity. Read any relevant conditions before downloading or extracting anything.
Permission to listen privately and permission to publish an edited audio clip are different things. A lecture might include licensed background music. Your own event footage might contain a performance whose recording or distribution needs separate authorization. Check the components that matter to your planned use.
Keep a record of permission alongside your files. That might be a license document, a saved agreement, or a note describing where the recording came from. Include any attribution requirements. If access restrictions prevent extraction, ask the owner for an authorized audio file or another approved route.
Understand What the Video File Actually Contains
A video file is often a package containing several separate streams. There may be a video stream, one or more audio tracks, subtitles, and descriptive information. The package is called a container. MP4, WebM, and MKV are container formats.
A codec describes how a stream is encoded. H.264 and AV1 are video codecs. AAC, MP3, and Opus are audio codecs. An MP4 file might contain H.264 video and AAC audio, but its extension alone does not tell you every detail inside.
Audio files also have format distinctions. M4A commonly holds AAC or Apple Lossless audio. WAV commonly holds uncompressed PCM audio, although other encodings are possible. FLAC stores audio using lossless compression. MP3 uses lossy compression, which discards some information to reduce file size.
Changing a filename from recording.mp4 to recording.mp3 does not perform a conversion. The contents remain unchanged. A player may reject the renamed file or struggle to identify it. Use a tool that reads the streams and produces a valid output format.
Choose Between Copying and Converting the Audio
Audio extraction can mean two different operations. Stream copying takes the existing encoded audio out of its container and places it into a compatible output. Transcoding decodes that audio and encodes it again using your selected settings.
Official documentation describes stream copying as copying stream packets without decoding or encoding. For an unchanged audio track, this avoids another encoding stage. Your chosen output container still needs to support the source codec.
For example, AAC audio inside an MP4 can often be copied into an M4A file. That can preserve the existing audio without creating another lossy version. Converting that same track to MP3 requires re-encoding. It may improve compatibility with your intended player, but it cannot restore detail already missing from the source.
Editing changes the decision. Noise reduction, volume adjustment, and mixing usually require decoded audio. If you plan several editing sessions, work from the original or a suitable lossless working copy. Create your smaller listening file after the edits are finished.
Match the Output to How You Will Listen
Choose the format around its destination. A file for an older car stereo has different needs from a recording intended for editing or long-term storage. Check the actual device or application before processing a large collection.
- MP3: A practical choice for many everyday players, especially when broad compatibility matters.
- AAC in M4A: Useful when your devices support it, particularly when the source already contains AAC that can be copied.
- FLAC: Useful for lossless working copies and storage, provided your software supports playback and tagging.
- PCM in WAV: Useful for editing workflows that expect uncompressed audio, with larger files as the tradeoff.
- Opus: Efficient for speech and music, although support should be checked on your intended player.
Lossless output preserves the decoded audio you give it. It does not reverse earlier lossy compression. Turning a compressed soundtrack into WAV may produce a much larger file without adding audible information.
Set Quality Without Inflating the File
Bitrate describes how much encoded data is used per second. For lossy audio, higher settings generally allow more detail within the same codec and encoding conditions. Bitrates across different codecs are not direct quality equivalents.
For MP3, 128 kbps can be a reasonable starting point for straightforward speech. Music or demanding recordings may benefit from 192 to 256 kbps. Treat these as trial settings. Listen to a representative passage before converting the full recording.
Variable bitrate adjusts data use according to the material. Constant bitrate keeps the rate steady and may suit equipment with specific requirements. If a device manual specifies a supported range or mode, follow it.
Preserve the source sample rate unless your destination requires a change. Raising 44.1 kHz to 96 kHz does not recreate missing detail. Keep stereo when the recording depends on spatial information. Mono can reduce storage for speech, but check that combining channels does not weaken voices or remove useful content.
Extract the Audio in a Repeatable Sequence
Begin with a complete source file and enough free storage for the output. If you have a folder of videos, test one representative recording before applying the same settings to everything.
- Inspect the source. Check its duration, audio codec, language, and channel count through media information or file properties. Confirm that an audio stream exists.
- Select the intended track. Listen briefly. A video may contain commentary, another language, or a separate descriptive audio track.
- Choose the operation. Use stream copying when the tool supports it and the output accepts the source codec. Choose conversion when compatibility or processing requires it.
- Set the output details. Pick the format, quality setting, channels, and destination folder. Give the new file a distinct name.
- Process one file. Wait for completion before closing the tool or moving its output.
- Validate the result. Check playback and file information, then repeat the process for other recordings if the settings work.
If MP3 matches your playback needs, an MP4 to MP3 converter can provide a direct conversion route. Check its available settings and upload requirements before submitting a file. Keep your original video until you have inspected the finished audio.
Keep Private Recordings Under Your Control
A browser interface does not tell you where processing happens. Some tools handle files on your device. Others upload them to a server. Check the service explanation and privacy terms for upload behavior, retention, deletion, and access.
For confidential interviews, workplace meetings, or recordings containing personal information, use a workflow approved for that material. An offline application may be the appropriate choice when uploading is not permitted.
Filenames and metadata can reveal information too. A recording named after a client or medical appointment may expose details before anyone plays it. Review names, tags, and attached artwork before sharing an output.
Give the Audio Enough Context to Stay Useful
A folder full of files called audio-final.mp3 becomes confusing fast. Use a consistent naming pattern that carries meaning outside your current project. A name such as 2026-10-27_garden-interview_english.mp3 communicates a date, subject, and language.
Add useful metadata where your format and software support it. Title, creator, recording date, language, and a short description can help future searches. Metadata support varies across containers and applications. Open the finished file in your intended player to confirm that the tags appear correctly.
Keep permission details and source information in an accompanying text file if ordinary tags cannot hold them reliably. Record the original filename, selected track, conversion settings, and any edits. If you trimmed an excerpt, note its starting and ending positions in the source.
Check the Finished File Beyond Its Extension
A successful export message is only the first check. Play the beginning, a section in the middle, and the ending. For valuable recordings, listen through the entire result. Check that the expected speaker and language are present.
- Duration: Compare it with the intended source section. Small encoder-related differences can occur, but missing minutes need investigation.
- Sound: Listen for distortion, gaps, harsh artifacts, or speech that becomes difficult to understand.
- Channels: Confirm that required voices are audible and that a stereo recording has not lost one side.
- File details: Inspect the actual codec, sample rate, channel count, and bitrate where available.
- Playback: Open the result on the phone, stereo, editor, or application you plan to use.
- Tags: Check titles, dates, artwork, and any private information before distribution.
If an output is silent, return to the source and confirm the selected track. If it stops early, check whether the original download was complete. If a player refuses it, verify the container and codec combination. Repeatedly converting a faulty output usually adds problems. Restart from the intact source.
Store the Original and the Listening Copy With Care
Your compact audio file serves a specific purpose. The source video may still contain context, subtitles, alternate tracks, or visual information you later need. Keep it when the recording has lasting value and your permission allows retention.
Maintain another copy on separate storage. Official guidance on audio preservation recommends descriptive names, a documented folder structure, and copies in different places. These habits make recordings easier to locate and protect against losing a single storage device.
Check stored files periodically and after moving them. For valuable collections, checksums can help detect whether file contents changed during transfer or storage. They complement backups and listening checks. They do not establish that the original recording was complete or sounded correct.
Keep the Sound Ready for Its Next Use
A useful extraction starts with permission and ends with a file that plays where you need it. Identify the source audio, choose copying or conversion deliberately, and test the result before committing to a batch. Add enough context to recognize the recording later. With the original preserved and a checked listening copy ready, your audio can remain useful long after the video leaves your screen.