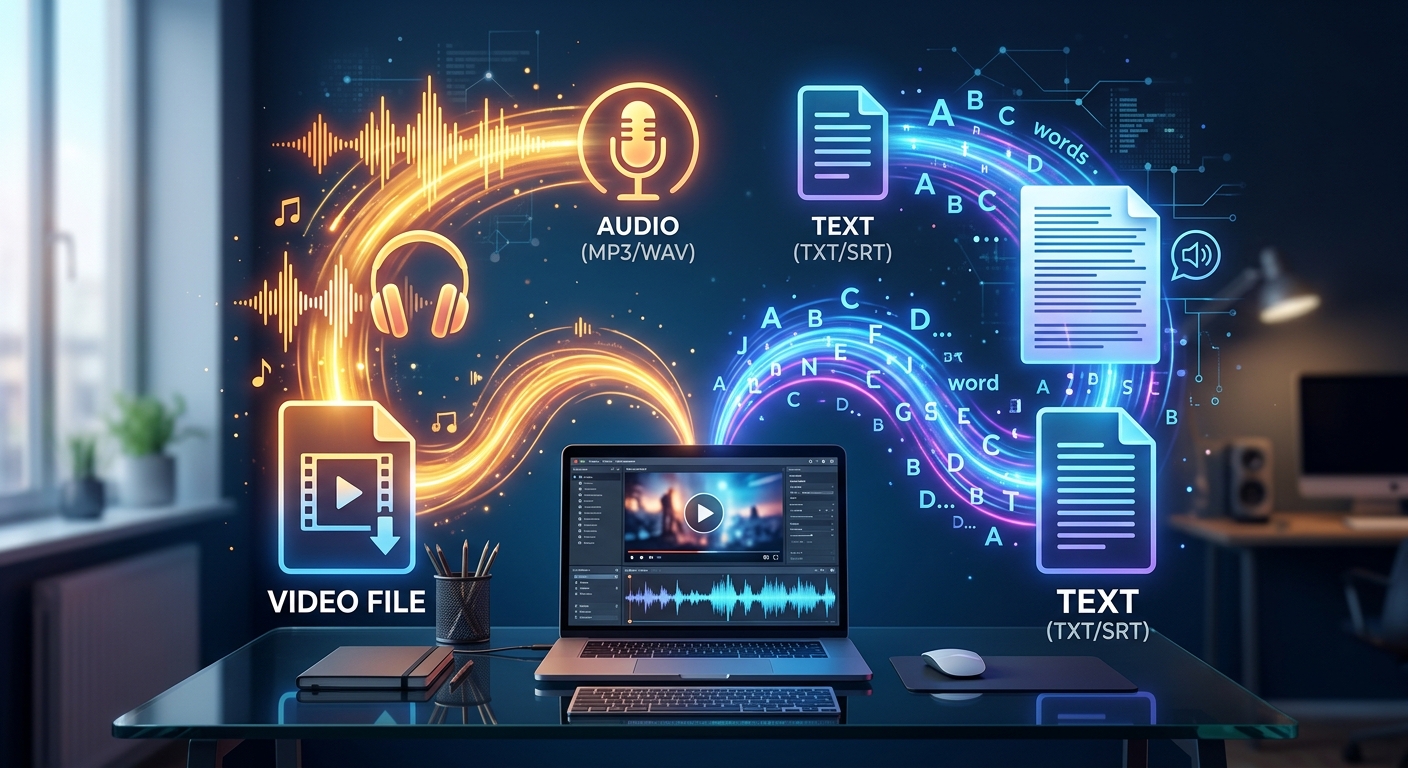
You saved a video. Maybe it is a lecture, a long-form interview, or a tutorial you needed for later. Now you want to do something more useful with it than pressing play again. The two most practical things you can pull from a locally saved video file are the audio track as a standalone sound file, and the spoken content as readable, searchable text. Both tasks are more straightforward than they seem, and knowing when to use each one saves a significant amount of time.
- Audio extraction pulls a video's sound into a separate MP3 or AAC file without touching the video itself.
- MP3 works on almost any device; AAC offers better quality at the same file size on modern hardware.
- Transcription converts speech from a video into plain text you can search, quote, or archive.
- Researchers, students, and archivists benefit most from transcription, while casual listeners typically prefer audio extraction.
- Free tools handle both processes without needing software installation or technical experience.
What a Downloaded Video File Actually Contains
A video file is a container. Formats like MP4, MKV, and WebM hold multiple streams packed together inside a single file: at least one video stream, at least one audio stream, and sometimes subtitle tracks or chapter markers as well. When you want just the audio, you are telling the software to unpack that container and hand you the audio stream as its own separate file. When you want a transcript, you go a step further and ask a tool to listen to that audio stream and convert speech into words on a page.
Understanding this distinction helps you pick the right approach for what you actually need. The video and audio data are separate tracks living inside the same container, which is why extracting audio does not require re-encoding the whole file from scratch. It is closer to copying one item out of a folder than converting the entire folder into a new format. That means the process is fast, and the audio quality stays exactly as it was in the original file.
Extracting Audio: Choosing Between MP3 and AAC
The two formats you will encounter most often for extracted audio are MP3 and AAC. Both use compression to reduce file size, and both sound perfectly acceptable for speech content. The differences matter more for music or high-fidelity recordings, but they are still worth knowing before you commit to one or the other.
MP3 has been the standard for portable audio since the late 1990s. Nearly every device that plays audio supports it: older car stereos, budget media players, and systems running older operating systems. If you need a file that will work on hardware you did not choose, or that you plan to share with someone whose setup you do not know, MP3 is the format that creates the fewest compatibility headaches. It has three decades of universal support behind it.
AAC is the format that modern platforms prefer. It was designed as a successor to MP3, and at equivalent file sizes it generally produces cleaner audio. Apple devices, Android phones, and most streaming apps are built around AAC. If the video you downloaded came from a modern platform and you will listen on a phone or recent laptop, AAC delivers a slightly better result in a comparably sized file. The caveat is that some older or budget devices do not support AAC at all, so test playback before assuming it will work everywhere you need it.
A third option worth knowing is lossless copy mode, where the audio stream is copied directly out of the container without any re-encoding. This preserves the original audio exactly as it was stored. If the source video had high-quality audio and you want every detail intact, lossless copy is the best route. The file tends to be larger than a re-encoded MP3 or AAC, but there is no quality loss in the transfer.
How to Pull the Audio Out: a Step-by-Step Process
Regardless of which tool you use, the general process for audio extraction follows the same sequence. Walking through it once makes every future extraction much faster because you will already know what each setting controls.
- Open your audio extraction tool, whether that is a desktop application or a browser-based converter.
- Load or upload the video file you want to process, and confirm the tool recognises the format correctly.
- Select your output format, either MP3 or AAC, and choose a bitrate. For speech content, 128 kbps is sufficient. For music or higher-quality audio, 192 to 320 kbps is a better range.
- Set an output destination so you know exactly where the finished file will land when the process completes.
- Start the extraction and wait. For most video files, this takes under a minute on a standard laptop.
- Play back the extracted audio file to confirm it sounds correct before deleting or archiving the original video.
FFmpeg is the most widely used open-source tool for this task. It runs from the command line and handles virtually every video and audio format in common use. For users who prefer a graphical interface, applications like VLC or HandBrake offer the same core functionality with a more visual approach. Both are free, and both are available on Windows, macOS, and Linux.
When the Words Matter More Than the Sound
Audio extraction is useful when you want to listen. Transcription is useful when you want to work with the content. These are genuinely different goals, and they call for different tools.
Researchers working with recorded interviews often need to pull specific quotes from hours of material. Hunting through audio to find one particular moment is slow and frustrating. A plain-text transcript makes the same job take minutes. You paste it into a text editor, run a search for a keyword, and you land directly at the relevant passage.
Students archiving recorded lectures face the same challenge. Being able to search a transcript for a term that came up during a two-hour class session is far more efficient than scrubbing through audio with a playback slider. Archivists preserving historical video content have an additional reason to generate transcripts: text is far easier to index, cite, and search across large collections than raw audio or video ever could be. The W3C's published documentation on audio and video transcripts points out that plain-text versions of recorded content also serve critical accessibility functions, making material available to people who cannot listen to audio and to systems that cannot index sound.
To get a transcript from a locally saved video, run the file through a video to text converter to get a plain-text transcript you can search or copy from. These tools use automatic speech recognition to process the audio track in your video and output the spoken content as readable text. Accuracy depends on audio quality, background noise, and how clearly the speaker enunciates, but for most recorded lectures, tutorials, and interviews the results are solid enough to be genuinely useful with minimal editing.
Audio Extraction vs. Full Transcription: Which Output Fits Your Situation
The practical difference between these two approaches comes down entirely to what you plan to do after the file is processed. Audio extraction is the right move when you want portable, listenable content. You are pulling the sound out because you want to listen during a commute, edit it in an audio application, use it in a podcast, or share it with someone who only needs to hear it.
Transcription is the right move when you want to engage with the content rather than consume it passively. You need to search it, quote from it, translate it, index it across a larger archive, or share it in a format that works for people who cannot play audio at all. The output is text, and text travels easily across almost every platform, application, and workflow in existence.
Some situations call for both outputs at once. A researcher might extract audio from a downloaded lecture to listen during a commute and also generate a transcript to reference while writing a paper. These two operations do not conflict with each other, and running both from a single local file is entirely practical. The original video stays untouched throughout both processes.
Getting More Value from Every File You Save Locally
Saving a video to your own drive is just the starting point. The real value of having a file on local storage comes from being able to use it in ways that streaming never permits. You can extract the sound, generate readable text from the speech, clip sections for other projects, or archive the file in whatever format suits your long-term storage needs.
Format compatibility is worth keeping in mind throughout this process. MP4 is the most universally supported container for video, and for long-term archiving, MP4 with H.264 video and AAC audio is the combination that works across the widest range of devices and software. MKV is useful when you want to preserve multiple audio tracks or subtitle streams inside one file. WebM is common in browser-based contexts but has less support in standalone media players and archiving tools.
The combination of audio extraction and transcription turns any saved video into a genuinely flexible resource. The spoken content becomes listenable on any device, searchable in any text editor, and quotable in any document. That is a substantial upgrade from a file that can only be watched from start to finish.